EN


Regardless of your use case, if you are looking to integrate eye tracking into your research setup – such as in a flight simulator for pilot training – here is the breakdown of what to expect when working with Smart Eye:

Let’s take this approach and put it into practice. We start off by going to discussions with the customer to really understand the project.
As an example, we’ll take a human factors use case where a customer is looking to understand pilot workload and stress levels, as well as a gaze distribution over time between the interior of the cockpit and the exterior during take-off and landing scenarios. Let’s say that they want to compare an aggregate data of at least 30 pilots doing at least three runs each so that they can either confirm the current configuration or suggest a new cockpit configuration.
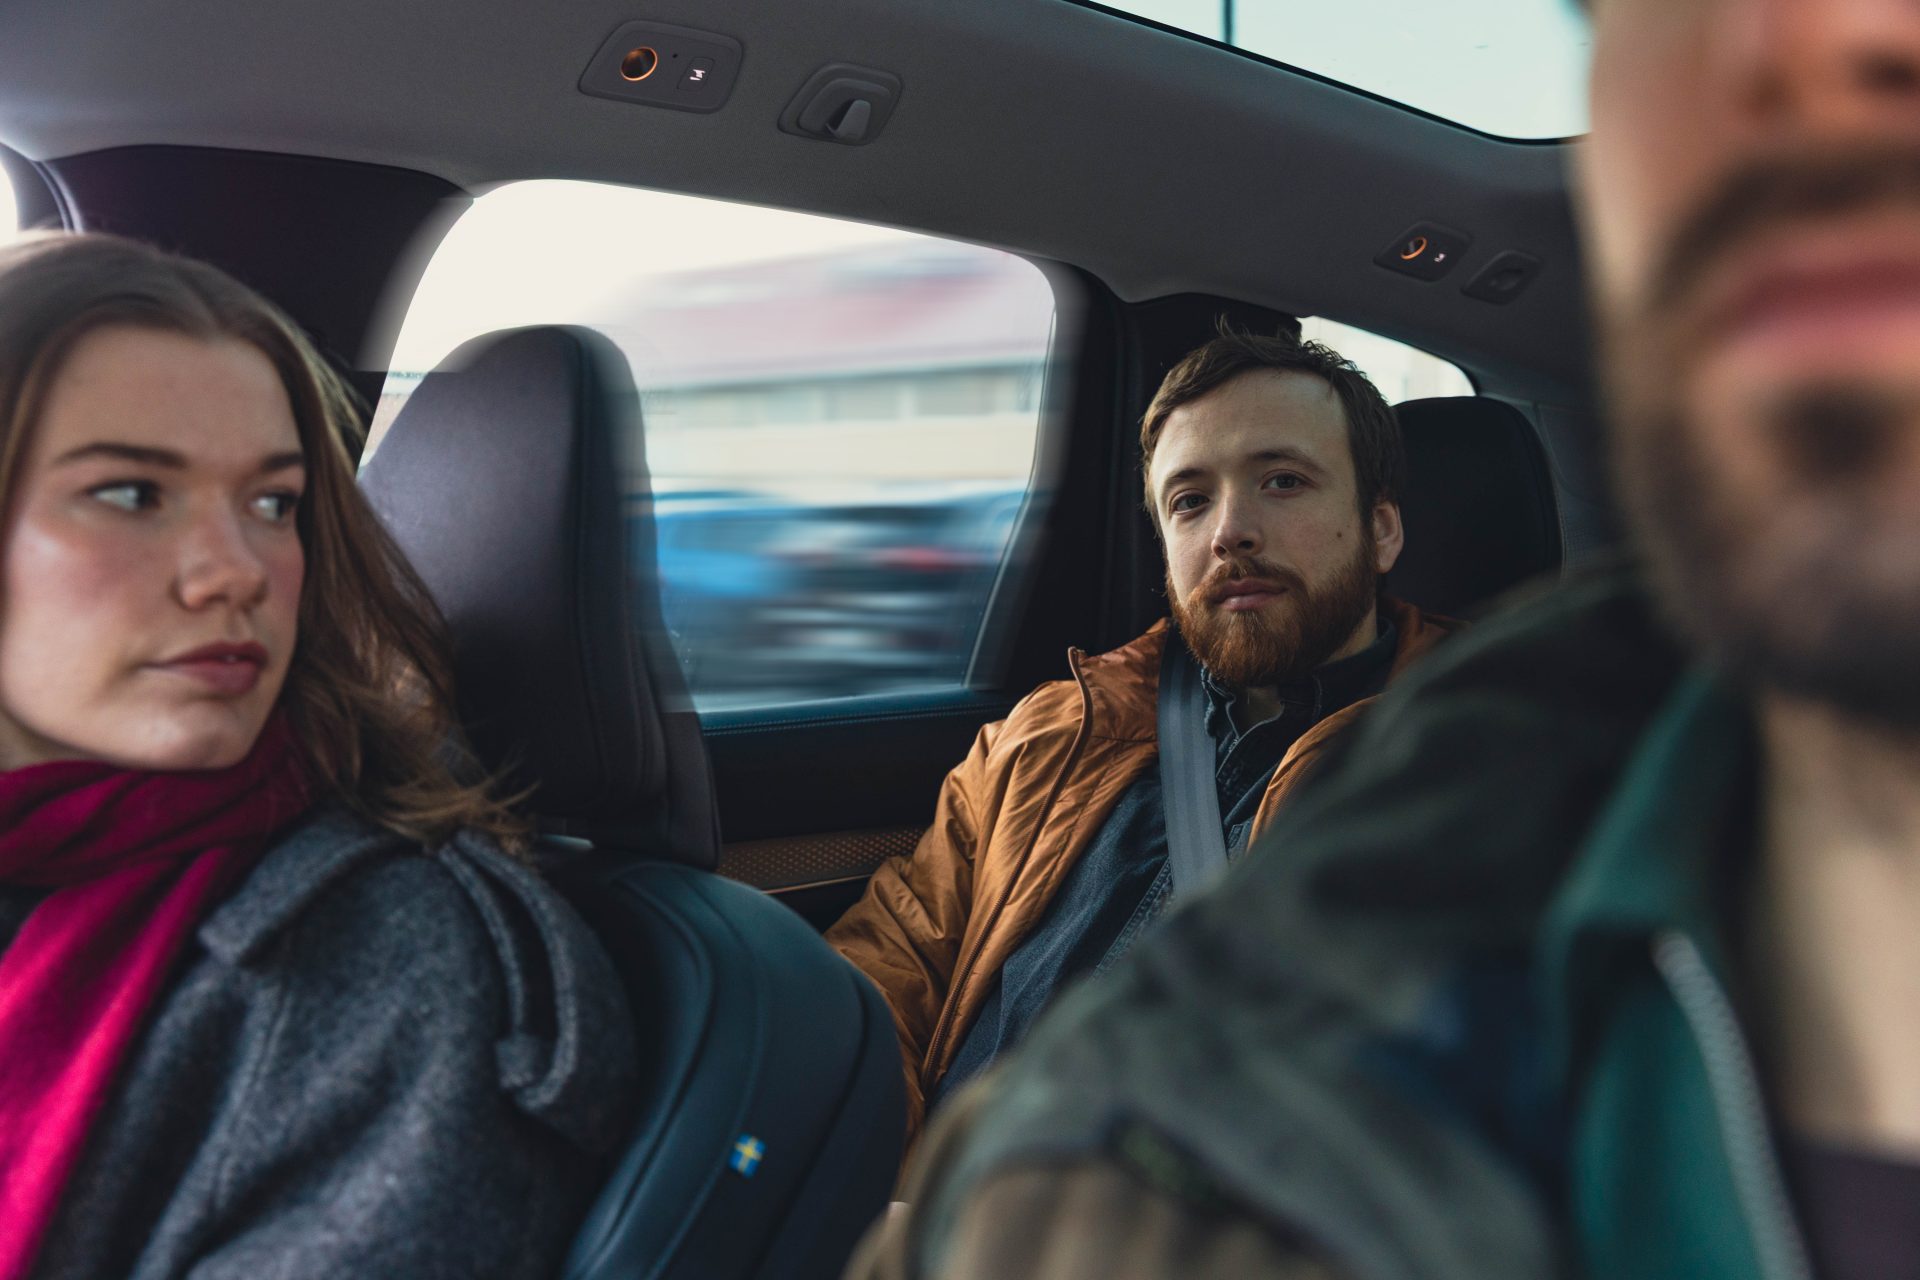
We are given some requirements. The interior, especially the area with the main instruments, needs really high accuracy. The outside view doesn’t need as high accuracy, but we still want to be able to capture gaze on all of the three monitors, so we are talking about quite a wide field of view. The customer wants a remote system with minimum set-up time, and they may occasionally be wearing headphones with microphones. They also really want a non-intrusive system, which is why they prefer to embed the system to really strive for naturalistic behavior from the pilots.
There are also some limitations to take into account. There could be conflicting IR sources within the room. They do not want to wear any headgear in terms of the eye tracking system. And again, the hardware cannot interfere in any way with the instruments or operation of the yolk.
In order to come up with a customized solution, Smart Eye will start off by building a replica in-house to test and determine how many cameras and illuminators are needed to achieve this, as well as the position of the cameras and illuminators.
Once we come up with a final configuration that actually meets the requirements from the customer, we present our conclusions and expectations to the customer. From here, we want to understand if there are any areas that couldn’t meet the requirements, and what are the expectations that we can deliver on in terms of accuracy in their desired areas.
Once we have a sign off from the customer and approval, we’re then ready to send a final proposal.
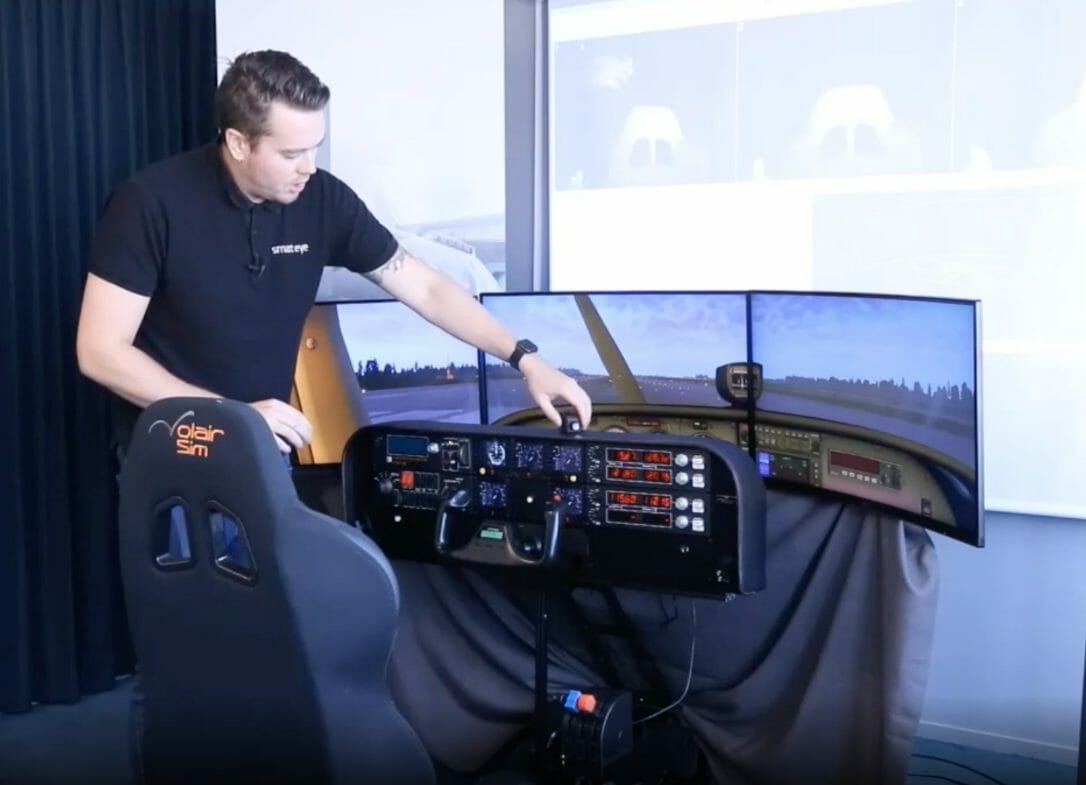
For the actual installation, it comes down to two parts-the hardware and software. With the hardware, in this case, we chose to embed a three-camera DX system. So we have three cameras embedded here as well as two illuminators, one on each side. But even if the customer hadn’t chosen to embed the system, the footprint of the DX camera is still small enough to be able to hide in plain sight.
When we have all the hardware setup and installed, we move on to the software. We use a 3D laser measurement tool to really measure all of the objects that the customer wants to collect data on, from the larger instruments on the side to the screens in the center, and we can even create sub-regions if we want to as well.
We do that using this 3D laser instrument tool that really gives us absolute coordinates on all of this, so that allows us to create an exact replica of this cockpit in the software.
When the subject comes in and sits down, the software displays a 3D replica of the cockpit at the bottom right of the screen. As the subject gazes around, researchers can see all gaze intersections visualized on objects shown on the screen.
The three camera views for each camera displays the freedom of movement the subject has. Even though the subject may cover a camera occasionally, the other cameras will still be able to capture the subject to assure minimal data loss.
Interested in eye tracking for pilot training? Download our Comprehensive Guide to Eye Tracking Technology for the Aviation Industry here, or contact us today to schedule a demo!